Scheduling
Automate recurring exports
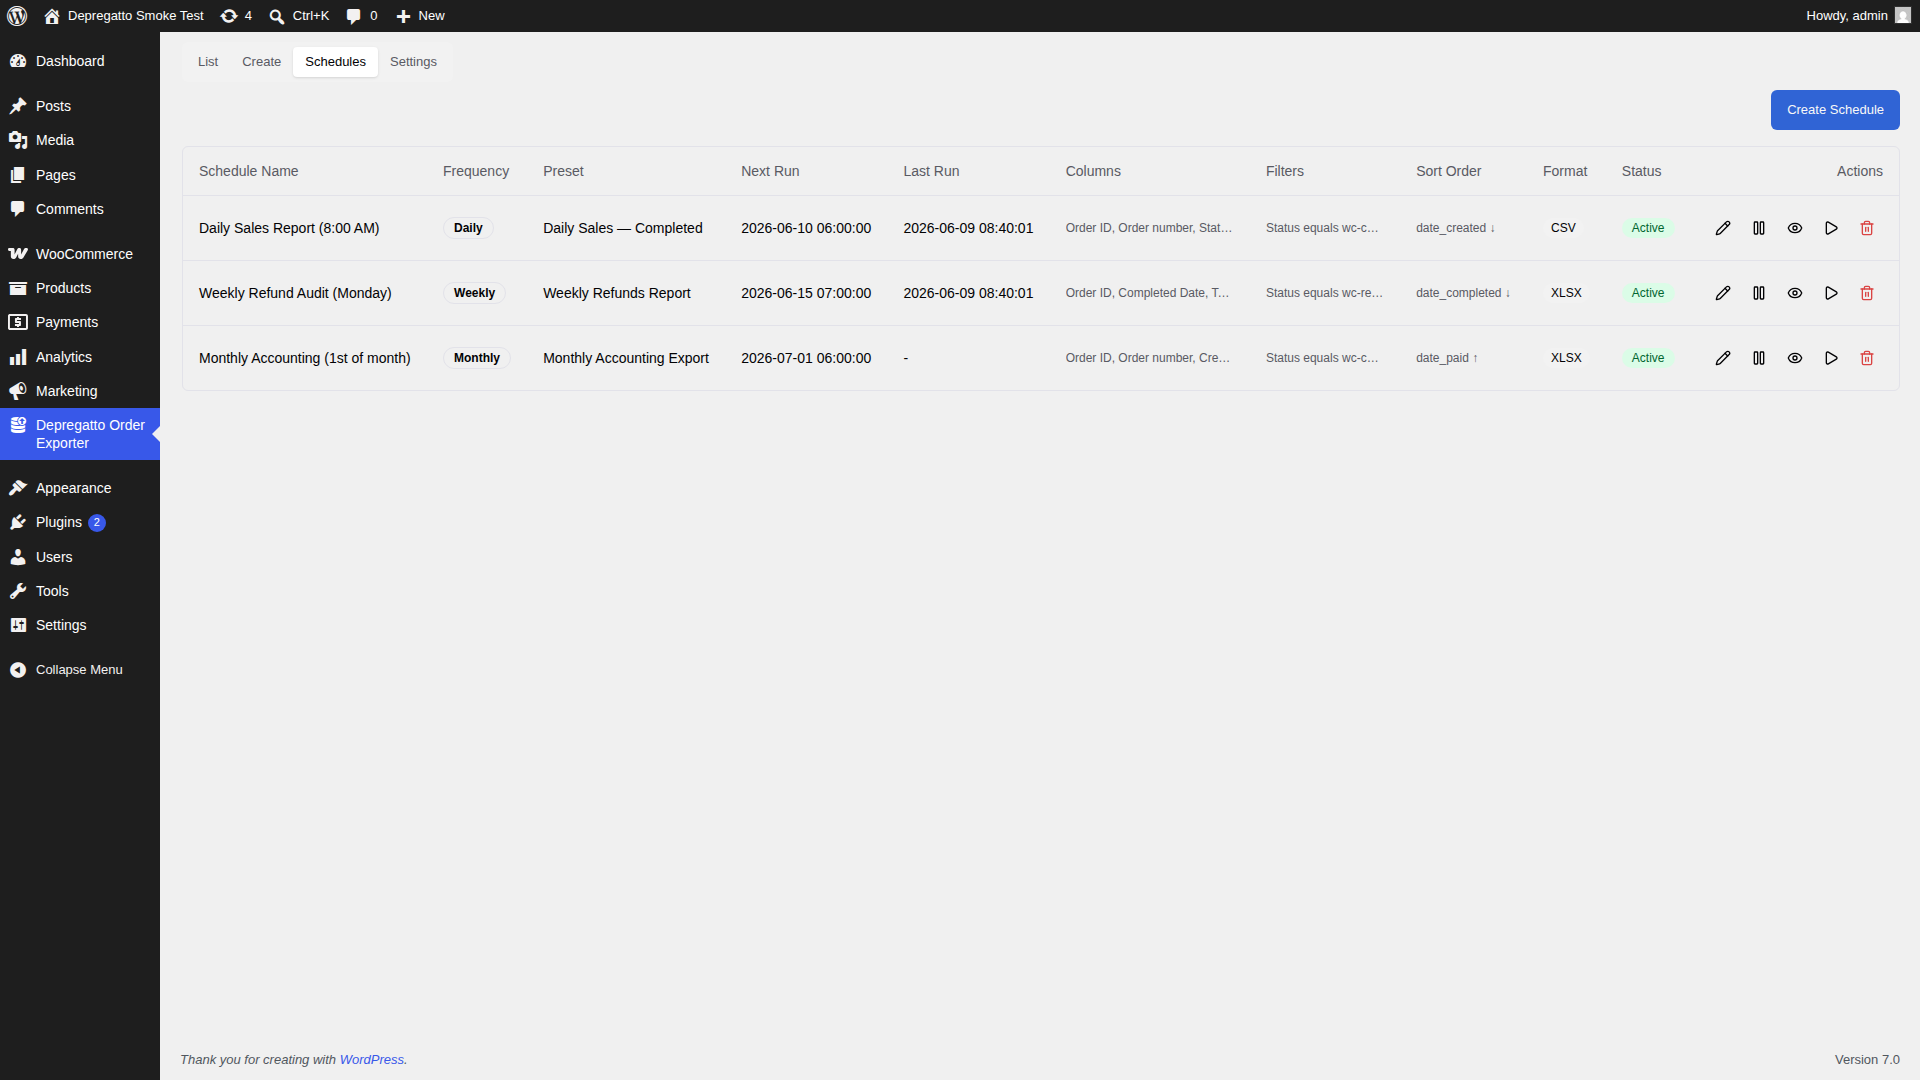
Creating a Schedule
Go to the Schedules tab and click "Create Schedule". Give the schedule a name, choose how often it should run, and set a start date and time. The plugin will then run the export automatically on that recurring basis.
Configuration
Each schedule has its own full set of settings — column selection, filters, sorting, and format options — just like a manual export. You can configure each schedule independently to produce exactly the output you need.
Frequency Options
Daily runs every day at the time you set. Weekly runs every 7 days from the start date. Monthly runs on the same calendar day each month.
Linking Presets
You can link a schedule to a saved preset. This is useful when you want multiple schedules to share the same column configuration. If the linked preset is later updated, the schedule will show an "out of sync" indicator to let you know the configurations differ. Click the sync button to update the schedule so it matches the current preset.
Managing Schedules
From the Schedules list you can pause or resume a schedule, edit its settings, delete it, or open a preview to see what the next run would produce. The list also shows when each schedule last ran and when it is next due to run.
Creating from an Existing Export
In the Export List, each export has a clock icon. Click it to create a new schedule pre-filled with the same column selection, filters, and format settings as that export — a quick way to automate something you have already run manually.